My Annual Holiday Baking Extravaganza (a series - with recipes!)
In Which We Discuss Craziness and a Recipe for Sugar Cookies
I make a ridiculous number of cookies for the holidays. Between cookie exchanges, parties and care packages - and our own consumption, of course! - I will make maybe 300 cookies.
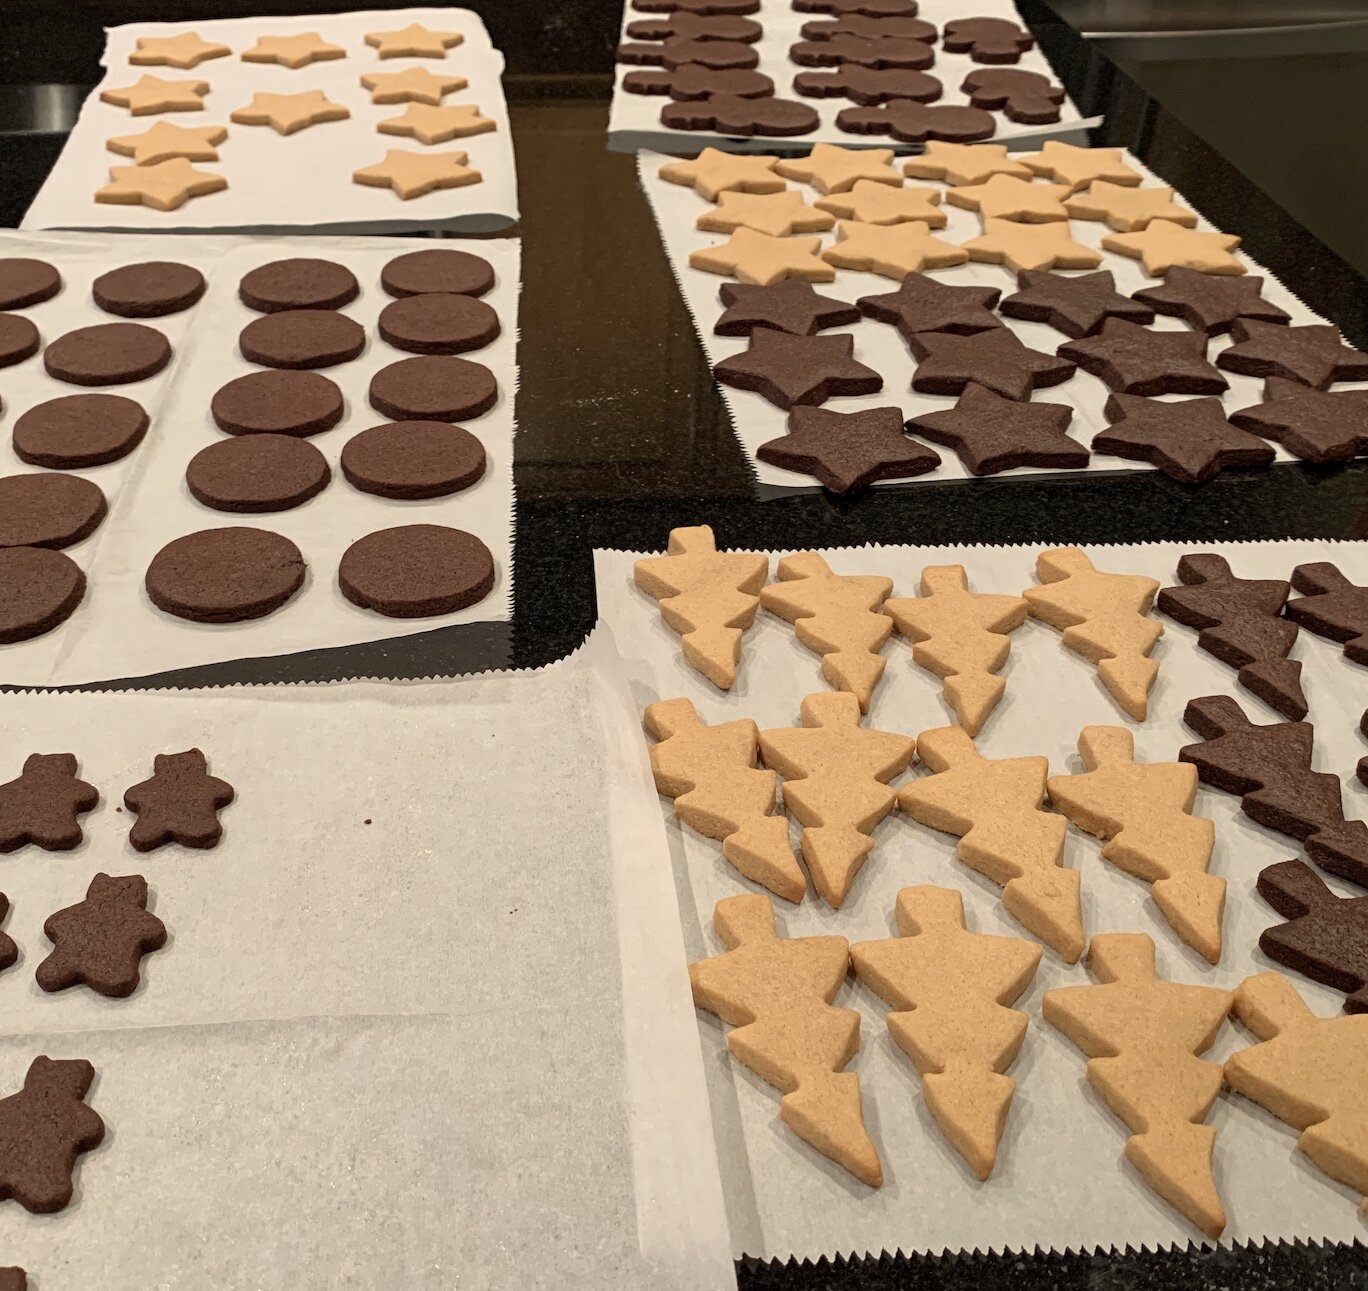
Yes, you read that right. 300. It’s a little…extra, as the kids say. I generally make about 4 different cookies - two types of sugar cookies for cut-outs and stamping; snowballs (a type of Russian tea cookie); and coconut macaroons (which can easily be made gluten-free). And maybe…some others. Oatmeal cherry chocolate chip. Peanut butter chocolate chip. You know. As needed.
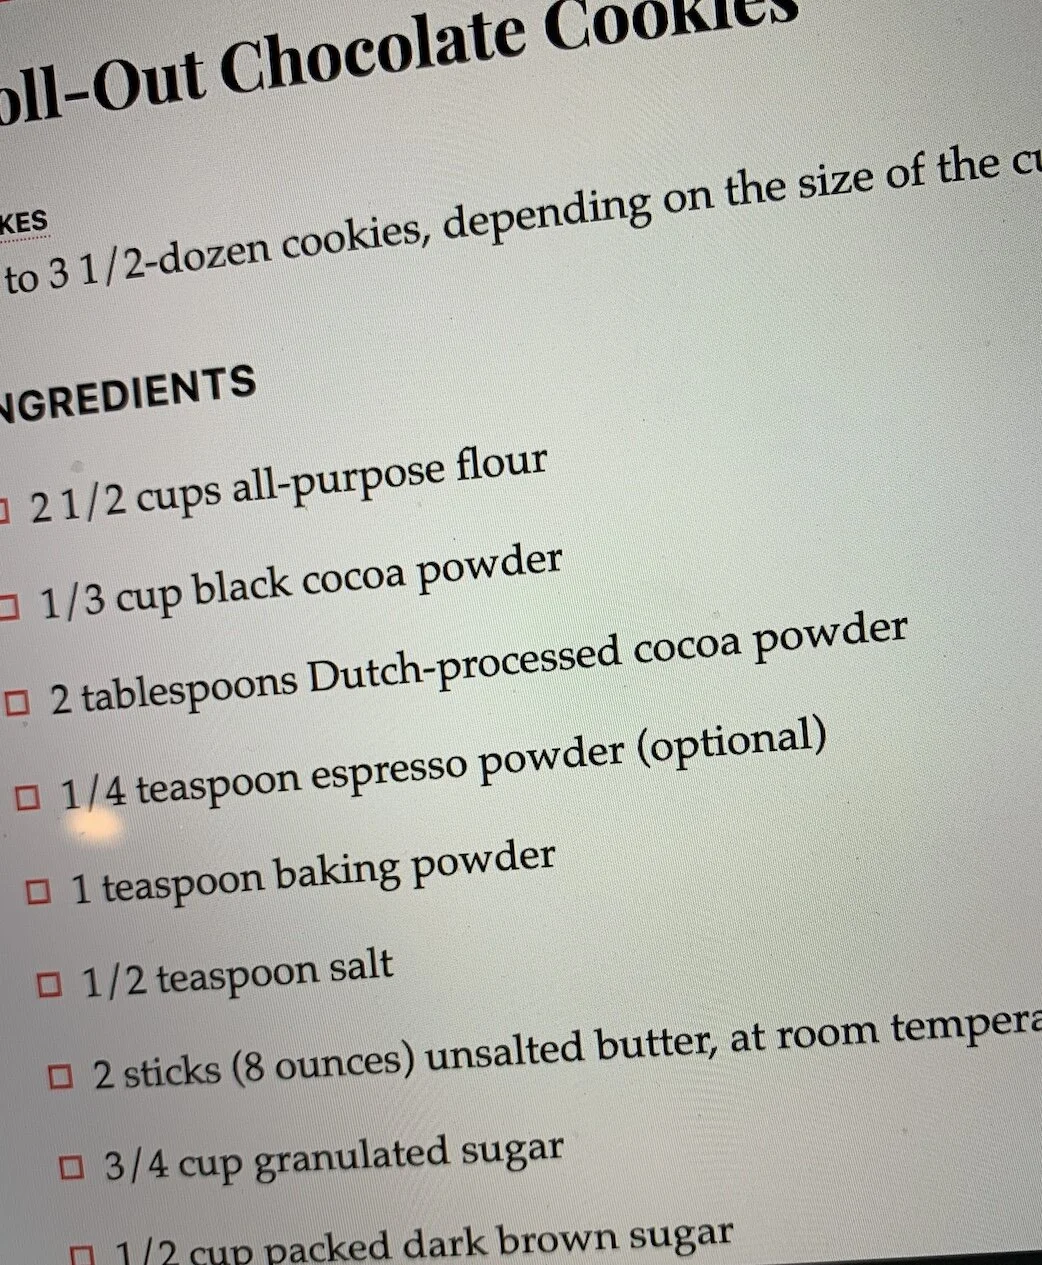
This type of crazy requires a love of baking and creating, a commitment to planning and time, and freezer space (Pro Tip #1: make the dough and freeze it - schedule your baking time later!) (Pro Tip #2: bake the cookies and freeze them - schedule your decorating time later!). And, of course, recipes. You just never know where a good one might turn up…this one was on the back of a box of Nordic Ware cookie stamps.
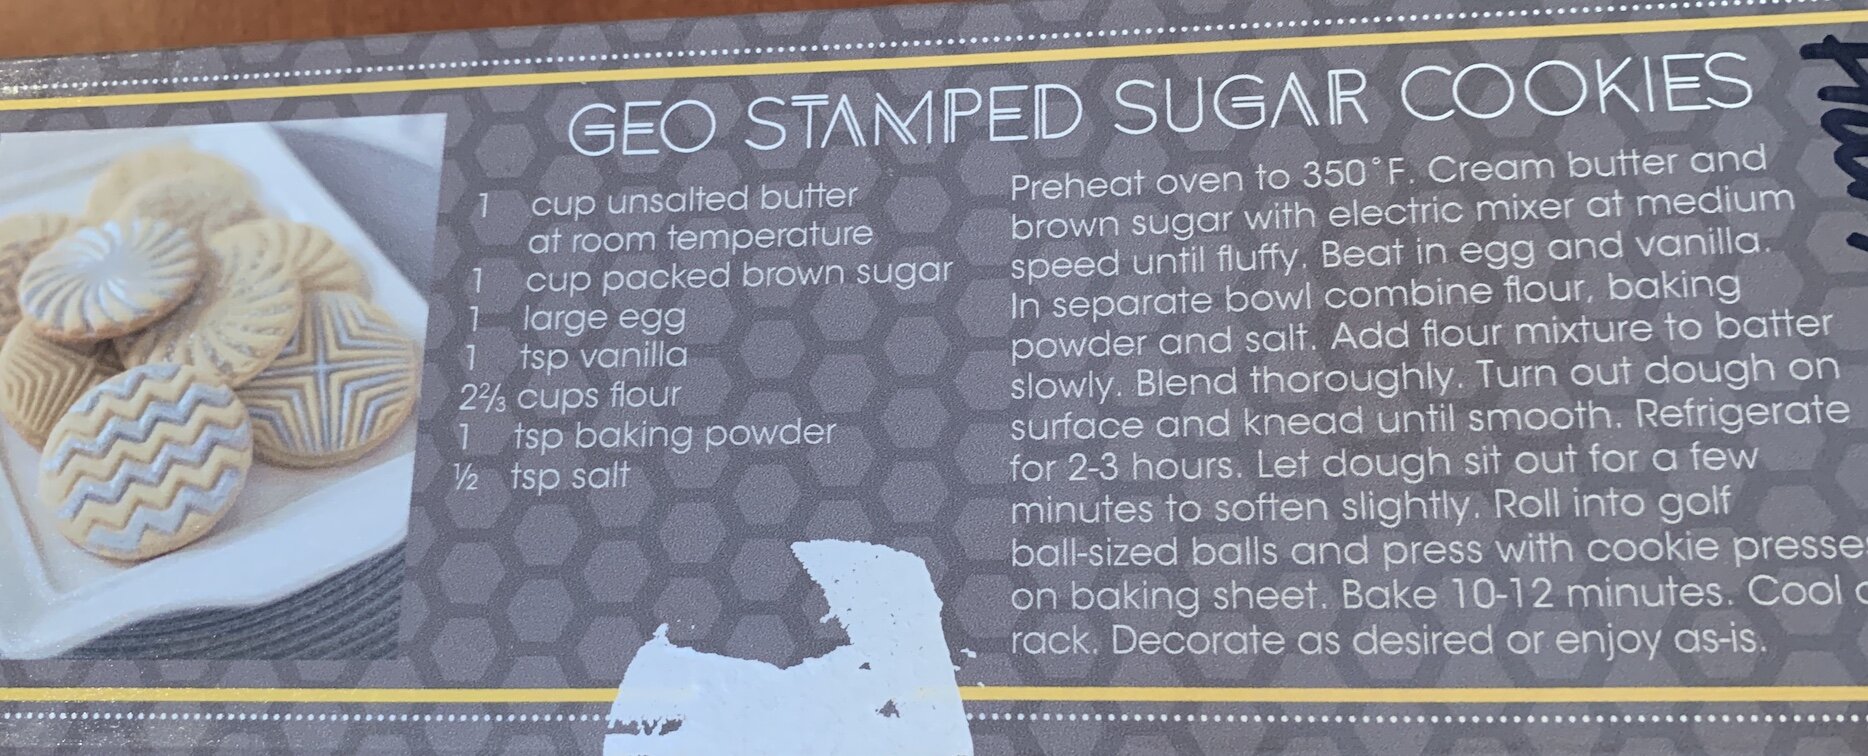
Nordic Ware geometric cookie stamp box - see below for a more legible recipe.
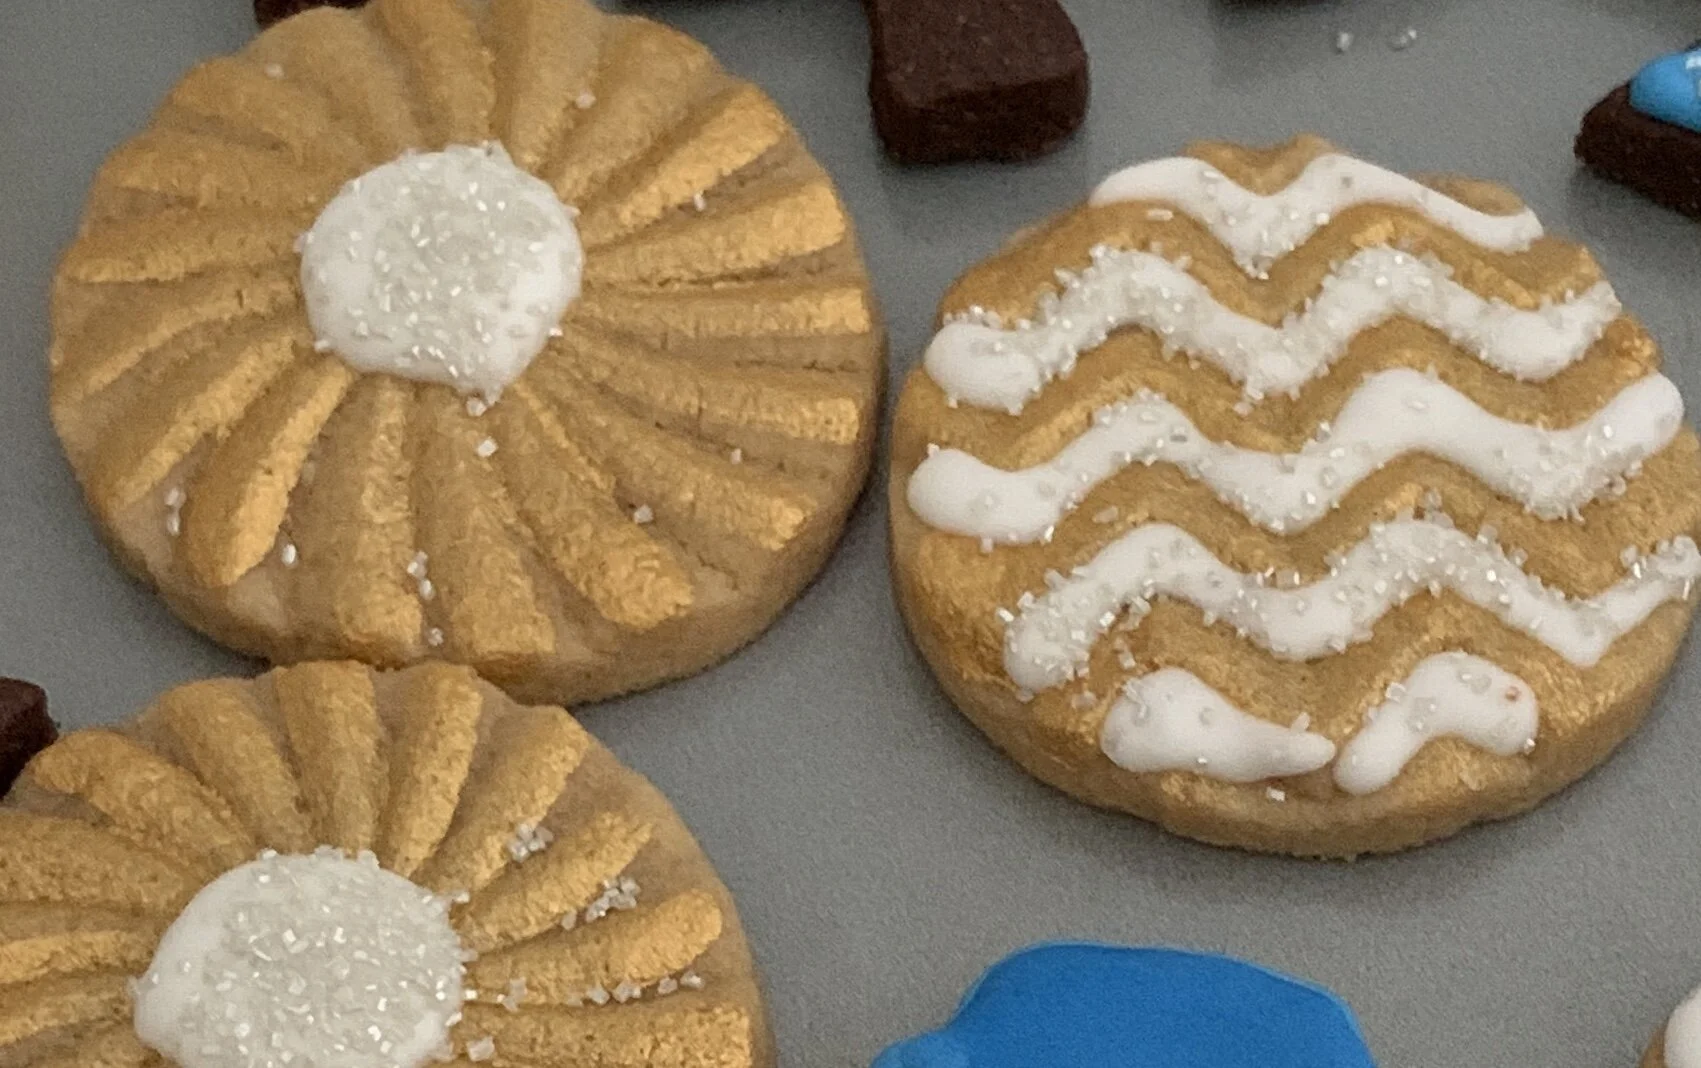
I am actually not recommending cookie stamps - I find them a bit of a pain in the ass, actually, although they do make a pretty cookie (and I will make a couple dozen). They are finicky - the dough has to be firm enough to take the stamp; if it’s too warm, the dough sticks to the stamp. Ugh. My own trick is to roll out the dough, then stamp them, and then use a round cookie cutter to finish the edges.
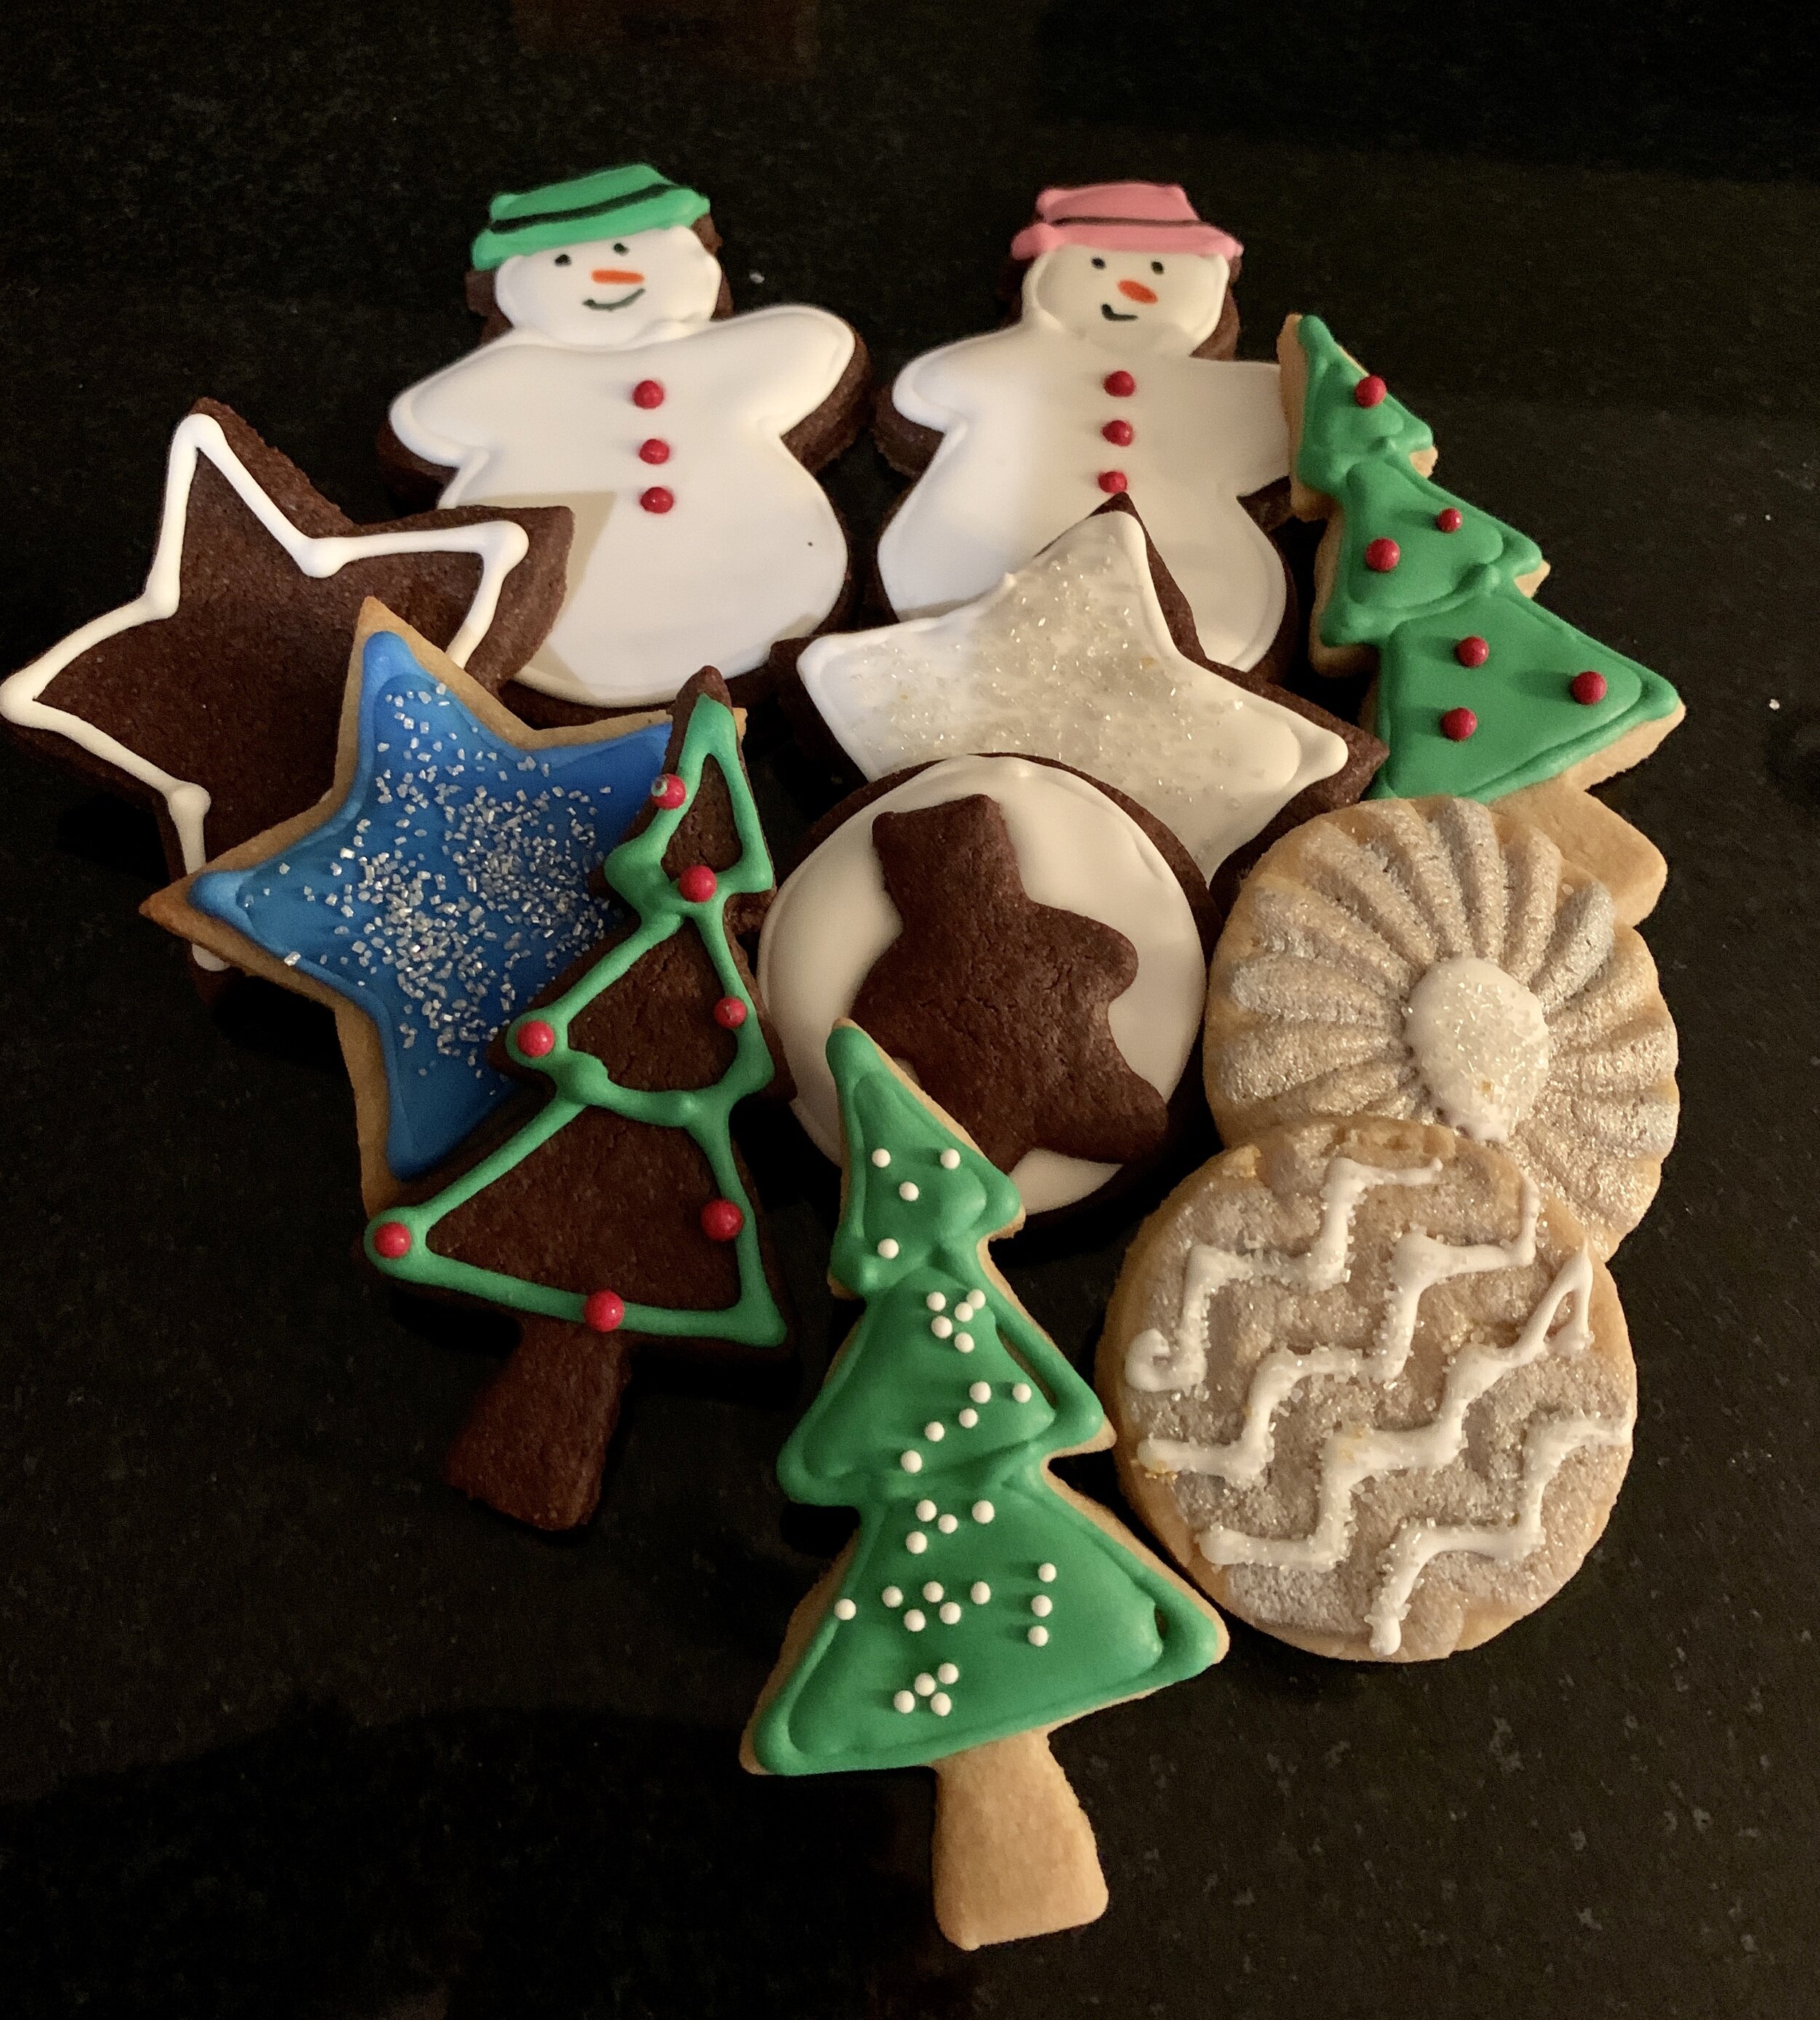
But this recipe - that brown sugar is damn tasty, and the dough is almost a shortbread texture. It holds a shape beautifully - no dreaded cookie spread here. You can get away with minimal icing, or no icing at all.

My royal icing skills are rough here - first time I’ve used it, so these are “practice” cookies. My usual go-to is an extremely simple, yet elegant look - I melt dark or white chocolate, pour it into a dollar-store picnic set ketchup bottle, and just outline the cookie. Zero skills or special tools required.

Here is the recipe for the sugar cookies. Next up - chocolate sugar cookies!
Sugar Cookies (adapted from Nordic Ware)
1 cup unsalted butter (at room temp)
1 cup packed brown sugar
1 large egg
1 tsp vanilla
2 2/3 cups flour (I use Bob’s Red Mill Whole Wheat Pastry flour)
1 tsp baking powder
½ tsp salt
Oven to 350
Cream butter and brown sugar until fluffy. Beat in egg and vanilla. In separate bowl, combine flour, baking powder and salt. Gradually add flour mixture to the batter and blend thoroughly. Knead dough until smooth, the divide into 2 disks, wrap in plastic wrap and refrigerate for 2-3 hours (or overnight, or freeze for later).
Let dough sit out for a bit to soften slightly. Roll out between parchment or wax paper, ¼” thick (adjust as desired - I like a sturdy cookie). Stamp and cut, or just cut. Bake 10-12 minutes.